
Step by Step Spanish Residency Application Made Easy

Applying for residency in Spain can feel like a maze, especially with the strict document requirements and official translations. Missing a single certified form or using non-Spanish paperwork can lead to frustrating delays. For tech-savvy expatriates and international workers, understanding each precise step boosts your confidence and helps you avoid common mistakes. This guide offers a straightforward pathway with actionable steps so your residency application is complete, accurate, and set up for faster approval.
Table of Contents
- Step 1: Gather Required Documents For Your Residency Case
- Step 2: Complete Forms Using Official Spanish Immigration Platforms
- Step 3: Submit Your Residency Application Online Securely
- Step 4: Schedule And Attend Your Biometrics Appointment
- Step 5: Verify Approval And Obtain Your Residency Card
Quick Summary
| Key Insight | Explanation |
|---|---|
| 1. Gather Required Documents | Compile essential documents based on your residency category to avoid delays and rejections. |
| 2. Fill Out Forms Accurately | Complete all immigration forms through Spain’s official platform while ensuring all information matches your documents. |
| 3. Submit Application Promptly | Submit your application online while saving your confirmation number to track its progress. |
| 4. Attend Biometrics Appointment | Schedule and attend your biometrics appointment promptly to avoid delays in obtaining your residency card. |
| 5. Verify Approval and Card Details | Regularly check your application status and confirm details on your residency card upon collection to ensure accuracy. |
Step 1: Gather required documents for your residency case
This step sets the foundation for your entire residency application. You’ll compile all the documents that prove your eligibility and circumstances for Spanish residency. Getting this right from the start prevents delays, rejections, and the frustration of resubmitting incomplete paperwork months later.
Living legally in Spain shouldn't be difficult.
View services and pricesNot sure which procedure you need? Find out in 2 min
Questions? Message us on WhatsApp
Start by understanding that Spain requires different documents depending on your residency category. Whether you’re coming as a worker, student, entrepreneur, or retiree, your specific circumstances dictate what you need to gather. The essentials typically include a valid passport, proof of financial means, health insurance coverage, and proof of address. If you’re employed, you’ll need your employment contract. Students require enrollment confirmation from their institution. Every document must be an original or officially certified copy.
The translation requirement catches many applicants off guard. Any document not issued in Spanish needs professional translation into Spanish by an official translator recognized in Spain. This isn’t optional. A badly translated document or one translated by a friend won’t work. You’ll also need legal certification (apostille) for documents issued outside Spain, which adds another layer to your preparation. Create a checklist specific to your residency type and work through it methodically. Check off each document as you obtain it, verify the translation status, and confirm certification requirements. This organized approach prevents the last-minute scramble and ensures you submit everything the first time.
Here is a summary of required documents by residency type in Spain:
| Residency Type | Key Required Documents | Typical Special Requirement |
|---|---|---|
| Worker | Employment contract, passport | Apostilled contract if foreign |
| Student | Enrollment proof, financial means | Official translation of diplomas |
| Entrepreneur | Business plan, proof of funds | Certification for business docs |
| Retiree | Proof of income, health insurance | Apostille for financial records |
| Family Reunification | Proof of relationship, passport | Translation of foreign certificates |
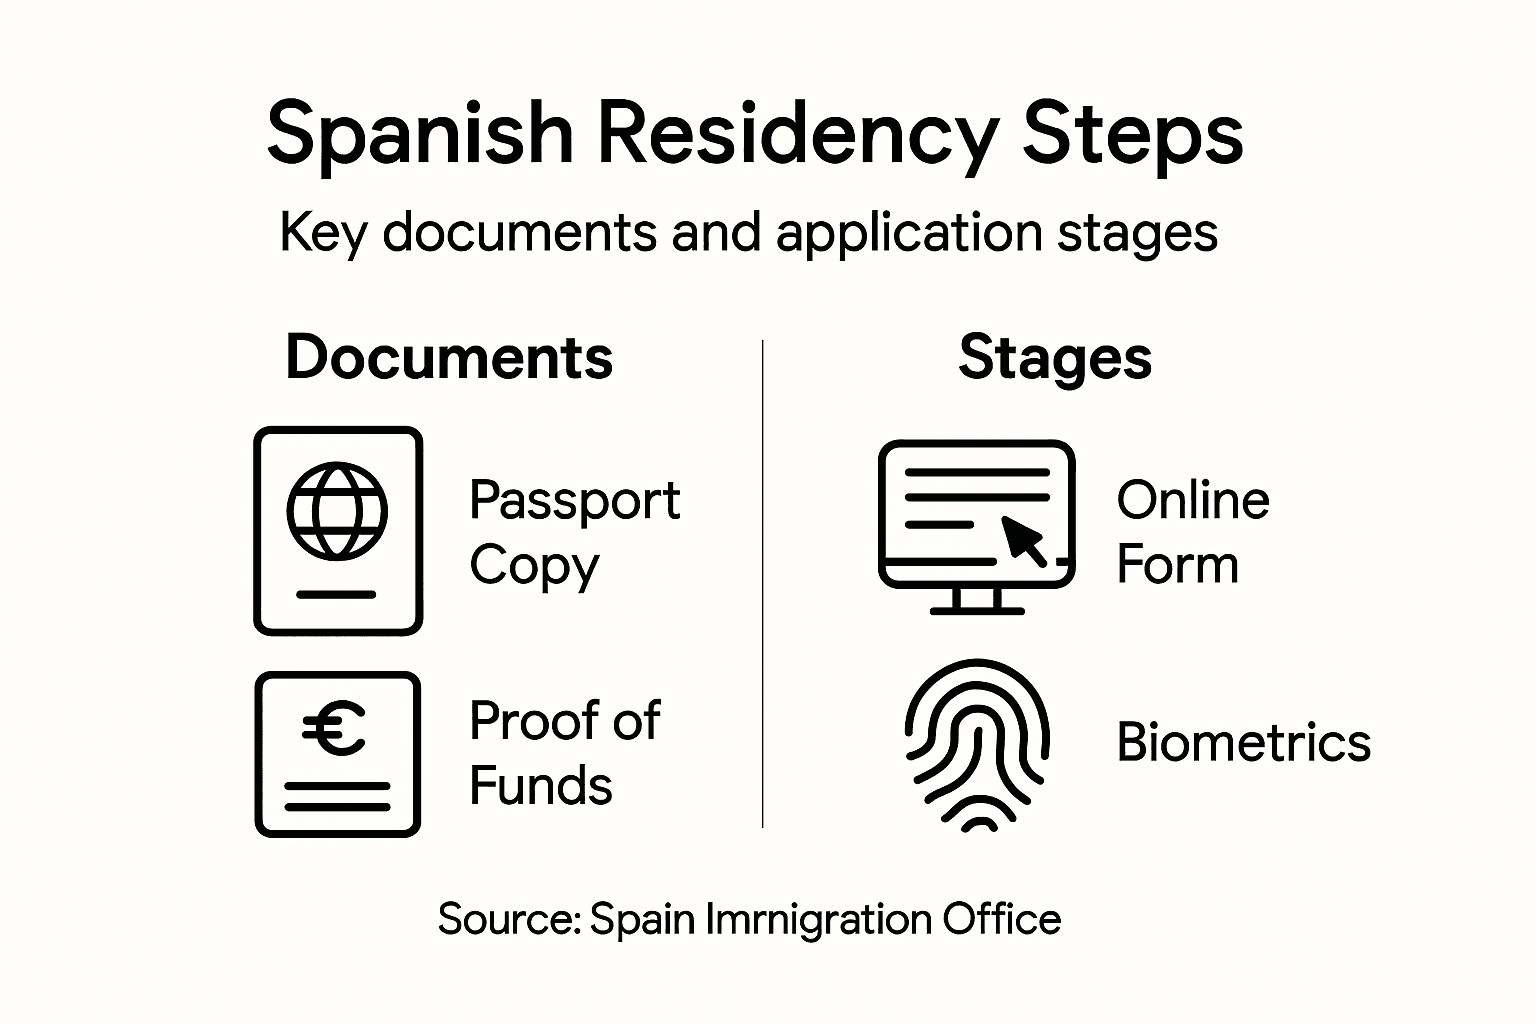
Pro tip: Start gathering documents at least two months before your planned application date, as official translations and certifications can take 3 to 4 weeks, and some documents like employment contracts or proof of funds may require time to obtain from external sources.
Step 2: Complete forms using official Spanish immigration platforms
Now that you have your documents ready, you’ll fill out the required forms through Spain’s official immigration submission system. This step transforms your paperwork into a formal application that the government can process. Getting the forms completed accurately matters more than you might think, as errors here can delay your entire case or trigger rejection requests.
Access Spain’s official immigration application platform to begin. The platform guides you through selecting the correct form for your residency type, whether you’re applying as a worker, student, entrepreneur, or through family reunification. Each form has specific fields tailored to your circumstances, so choosing the right one prevents wasted time. The electronic submission system walks you through each section methodically. Pay close attention to any fields marked as required, and fill them completely. Vague or incomplete answers trigger automatic rejection or requests for clarification. When entering information, ensure it matches your documents exactly. If your employment contract lists your title as “Marketing Specialist” but you write “Marketing” in the form, inconsistencies like this raise red flags during review. Take your time with each field rather than rushing through.
One critical aspect is understanding that Spain’s immigration channels now use secure digital systems to manage applications from start to finish. This means you can track your application status, receive updates, and respond to requests without visiting an office in person. Before hitting submit, review everything one more time. Check that all required fields are populated, all dates are accurate, and all information aligns with your supporting documents. The platform typically provides a summary page before final submission, giving you one last chance to catch mistakes.
Pro tip: Complete the form in a quiet environment with all your documents spread out in front of you, and consider saving a PDF copy of your completed form before submission for your own records and to reference if the government asks follow-up questions.
Step 3: Submit your residency application online securely
You’re now ready to submit your application through Spain’s official online system. This is the moment where everything comes together, and your application enters the government’s processing queue. A successful submission means your case is officially in the system, and you can begin tracking its progress.
Before you hit the final submit button, take a moment to review the entire application one last time. Go through each section you completed, verify that all information is accurate and matches your supporting documents, and confirm that every required field is populated. Look for any warnings or error messages the system displays, as these indicate problems you need to fix before proceeding. Once you’re confident everything is correct, proceed to the submission page. The system will show you a final confirmation screen with all your details. Read through this carefully because this is your last opportunity to catch any mistakes. If something looks wrong, most platforms allow you to go back and make corrections before final submission.
When you submit, the system generates a confirmation number and receipt. This is critical. Save this confirmation number, take a screenshot of your receipt page, and keep both in multiple places, such as your email, cloud storage, and physical files. This proof of submission protects you if there are ever questions about whether your application was received. The submission itself happens through encrypted, secure channels, so your personal and financial information is protected. After submission, you’ll typically receive an automated email confirming receipt. Check your spam folder if you don’t see it within an hour. From this point forward, you can monitor your application status through the online platform using your login credentials. Different residency categories have different processing timelines, so understanding what to expect next helps you plan accordingly. You may also want to familiarize yourself with how to register as an EU citizen in Spain if your residency type relates to EU citizenship status.
Pro tip: Submit your application during business hours on a weekday so that if technical issues arise, you can contact support immediately rather than waiting until the next business day.
Step 4: Schedule and attend your biometrics appointment
After your application is submitted and acknowledged by Spanish immigration authorities, you’ll receive notification to schedule your biometrics appointment. This appointment is where you provide your fingerprints and photograph for your official residency document. It’s a mandatory step that turns your application into a tangible identification credential.
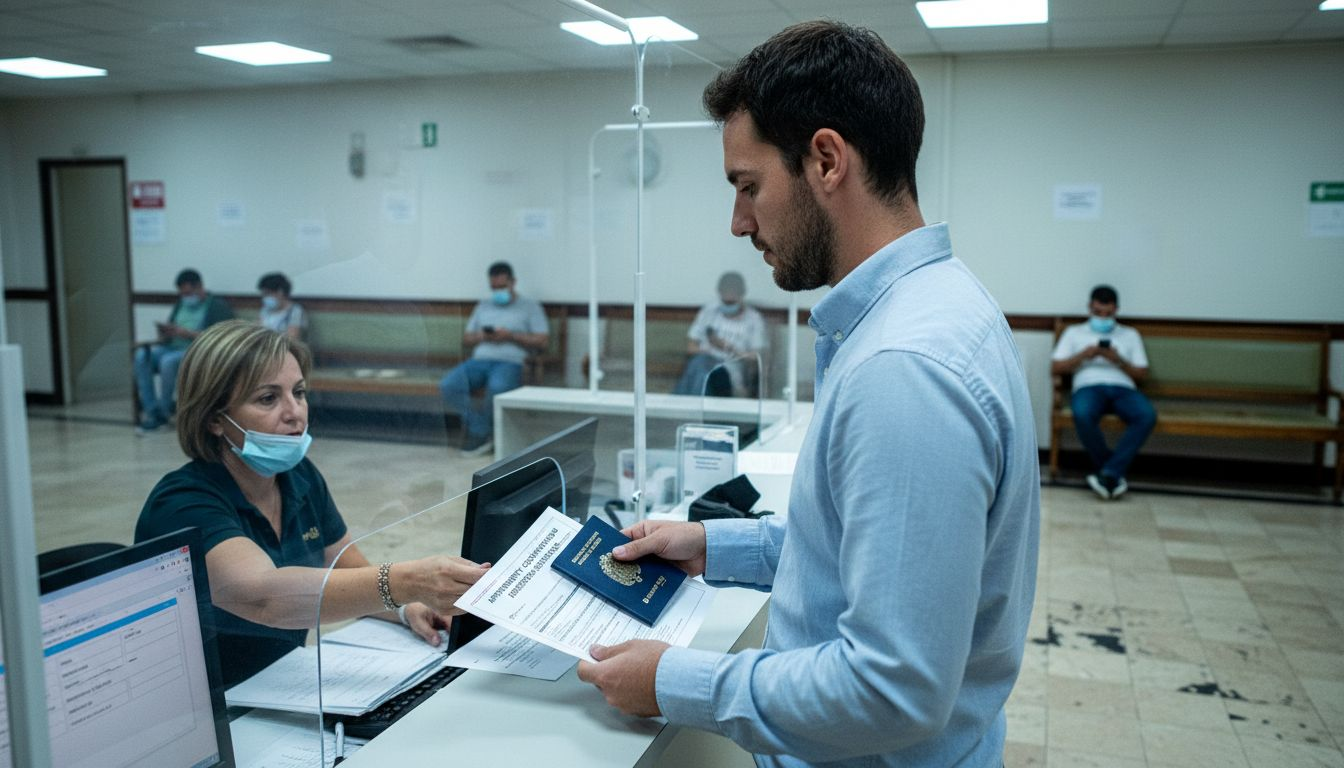
Once you receive your appointment notification, act quickly to schedule it. The notification typically includes a link or instructions for booking your appointment slot through the immigration system. You’ll select from available dates and times at a designated biometrics collection center, usually located in major cities or regional immigration offices. Choose a time that works with your schedule, but don’t delay unnecessarily. Some applicants wait weeks to find a convenient slot, and appointment availability can fill up fast, particularly during peak seasons. When you book your appointment, write down the exact date, time, and location immediately. Set a calendar reminder for at least one week before and another for the day before so you don’t accidentally miss it. A missed appointment often means rescheduling weeks later and delays your entire residency timeline.
On appointment day, arrive at least 10 to 15 minutes early. Bring your appointment confirmation letter, your original passport, and any other documents the notification specifies. Wear neutral colors and avoid heavy makeup or accessories that might obscure your features in the photograph. The process itself is straightforward. A staff member will take your photograph, scan your fingerprints using digital equipment, and verify your information. The entire appointment typically takes 15 to 30 minutes. Once complete, you’ll receive confirmation that your biometrics have been captured. Keep this confirmation document safely stored alongside your other application documents. Your official residency card or document will be produced using this biometric data and should arrive within 1 to 3 weeks after your appointment, depending on your residency category and current processing times.
Pro tip: Plan your appointment for mid-week and mid-morning if possible, as these times typically have shorter wait times compared to Monday mornings or Friday afternoons when offices are busiest.
Step 5: Verify approval and obtain your residency card
You’ve completed the major steps, and now comes the moment you’ve been waiting for. Your application has been processed, and you’re about to discover whether you’ve been approved for Spanish residency. This final step involves checking your application status, receiving your approval notification, and collecting your official residency card.
Start by regularly checking your application status through the immigration system portal where you originally submitted your forms. You can track your residency application status online using your application number and login credentials. Most systems also send SMS notifications when your status changes, so keep your phone number current in your profile. When you see your status change to approved, that’s the signal to take action. Your approval notification will include important details about where and when to collect your physical residency card. Don’t ignore this notification or assume you’ll remember the details later. Save the notification, screenshot it, and write down the critical information in a document you can reference. Some applicants miss their collection deadline because they overlooked this step, and that means starting the appointment process all over again.
Your residency card, officially called the TIE, is typically collected at the police station or regional immigration office in your area. You’ll bring your original passport, your approval notification letter, and any additional documents specified in the communication. Arrive early and bring all required paperwork because missing a single document means another trip. When you receive your card, verify that all information is correct before leaving. Check your name, photograph, residency category, and validity dates. If anything looks wrong, report it immediately to the staff member present. Once you have your card in hand, you officially have residency status in Spain. Keep this card safe and always carry it when required by law or when dealing with Spanish authorities. Your residency journey doesn’t end here, as you’ll need to understand renewal requirements for your specific residency category before your card expires.
This table outlines common mistakes to avoid at each application stage:
| Stage | Frequent Mistake | Impact |
|---|---|---|
| Document Gathering | Missing certified translation | Application rejection |
| Online Form Submission | Inconsistent details entered | Delays or request for edits |
| Application Submission | Failing to save confirmation | Hard to prove submission |
| Biometrics Appointment | Missing required documents | Rescheduling, process delay |
| Card Collection | Not checking card details | Official errors on record |
Pro tip: Make color photocopies of both sides of your new residency card and store them separately from the original, keeping one copy in digital form through a secure cloud service for easy access in emergencies.
Simplify Your Spanish Residency Journey with Professional Support
Navigating the detailed steps of the Spanish residency application can quickly become overwhelming. From gathering certified translations to scheduling those crucial biometrics appointments every detail matters. This article highlights common pain points like document organization, error-free form completion, and timely submission. You deserve a smoother path that minimizes stress and maximizes your chances for approval.
Experience how Vive Legal transforms residency applications into a streamlined, fully online process. Our platform offers personalized document review, form preparation tailored to your residency type, and appointment scheduling to keep you on track without surprises. Stay informed at every stage with secure tracking inside our client portal. Begin your residency process confidently today by exploring practical tips and professional services on our Uncategorized Archives - Vive Legal page. Take control now and turn complexity into clarity with Vive Legal.
Frequently Asked Questions
What documents do I need to gather for my Spanish residency application?
You need to gather documents that prove your eligibility based on your residency category, such as a passport, proof of financial means, health insurance, and proof of address. Create a checklist specific to your situation and ensure all documents are original or officially certified copies.
How do I fill out the forms for my residency application?
Access Spain’s official immigration submission system and select the correct form for your residency type. Carefully enter your details to match your supporting documents, as inconsistencies can cause delays or rejections.
What should I do after I submit my Spanish residency application online?
After submission, save your confirmation number and receipt as proof of your application. Monitor your application status through the online platform and stay alert for updates from the Spanish immigration authorities.
What should I expect at my biometrics appointment?
During your biometrics appointment, you will provide your fingerprints and photograph for your residency document. Ensure you arrive early with all required documents, as missing any will require you to reschedule the appointment.
How do I know if my residency application has been approved?
Regularly check your application status through the online immigration portal. Once it changes to approved, follow the instructions in the approval notification to collect your residency card promptly.
What common mistakes should I avoid during the residency application process?
Avoid missing certified translations, entering inconsistent details on forms, and failing to save your submission confirmation. Address these issues promptly to prevent delays or the need to restart your application process.
Recommended
Living legally in Spain shouldn't be difficult.
View services and pricesNot sure which procedure you need? Find out in 2 min
Questions? Message us on WhatsApp